Printable PDF Plans Here.
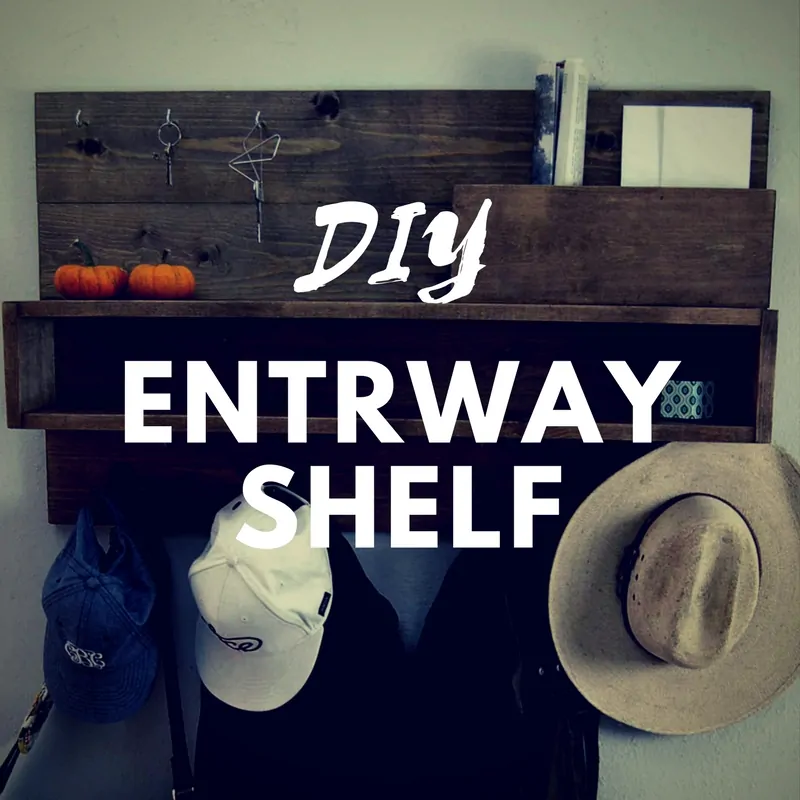
This entryway shelf and coat rack is my first online tutorial. I am excited to share it with you. It was fairly easy to make and it is turning out to be real practical in my entryway.
On a scale of woodworking difficulty I would rank it as a 2 on a scale from 1-10. Any beginner should feel comfortable working on this. If you are a total beginner, go here and here first.
[toc]
I think the best part about it is that it uses just one type of board. I bought a few 1x6s and make it all with those. And I didn’t even rip any of the boards. But you wouldn’t suspect that it is made with such simple skills when you see it.
What’s Included
One of the best parts about this build in my opinion is that it is fully customizable. I built a couple different kinds of shelves that I put on my entryway board. In a way you can consider this organizer as modular with different components:
- Main backboard
- Large Rectangle shelf
- Letter holder
- Coat hooks
- Key hooks
You may choose to move these around as you desire or even add more parts to fit your specific needs. Other possible components that you might add are a phone holder, small item tray, succulents planter, etc. I hope that you can build a solution that will fit your needs.
This tutorial will show you how I built my shelf step by step, with every aspect included. This consists of tools, materials, a cut list, and assembly diagram.
In my build I stained the shelf and sealed it. Of course you can stain it however you would like or you can paint it a color to match your interior.
Without further ado, here are the step by step plans.
DIY Entryway Shelf – Step by Step
Main Tools
- Miter Saw
- Drill
- Kreg Jig
- Random Orbital Sander
Other Hardware and Tools
- Tape Measure
- Kreg Drill Bit
- Sanding Disks – 80,150, 220
- Kreg Screws – coarse 1-1/4″
- Torx head screws – 1-1/2″
- Paint Brush
- Paint thinner
- Cotton rags
- 2 Sawtooth Hangers or 4 2-1/2″ screws
- Stud Finder
Materials
- 3 1×6 pine boards
- Stain or Paint
- Finish (if staining)
- Coat Hooks
- Key Hooks
Cut List
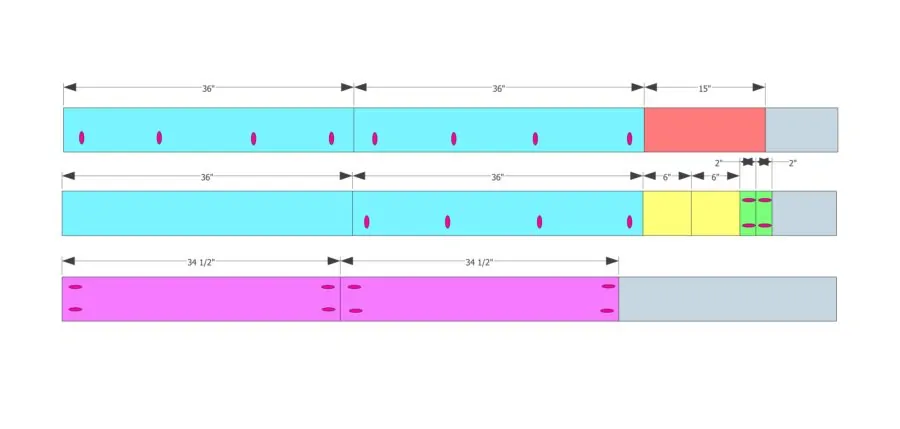
All three of these boards are 1x6s, 8 foot long. You can cut these pieces as you build it, or all at once, whichever is your preference.
Make sure to measure each new cut after the last one to account for the saw blade width.
All of the pocket holes that you need to drill are marked in pink. These should be on the 3/4″ setting for your pocket hole jig.
If you need help with Kreg Pocket Hole Jig settings go here.
Assembly Steps
1. Assemble Back Board
This step involves attaching each back piece edge to edge to form a solid board of four pieces. See in the illustration:

Clamp these pieces together if possible when you drive the screw. Also it is helpful to clamp them flat if you have the clamps to put on it.
Take your sander and sand around the edges and over the front of the board. Sand down any rough edges or places where the saw left wood splinters.
2. Put Together Shelf
The shelf consists of four pieces. The two long pieces are 34 1/2″ long, and the side pieces are 6″ long.
If you have a Kreg Clamp, use it to clamp one of the side pieces of the shelf to the long piece. Pictured here:
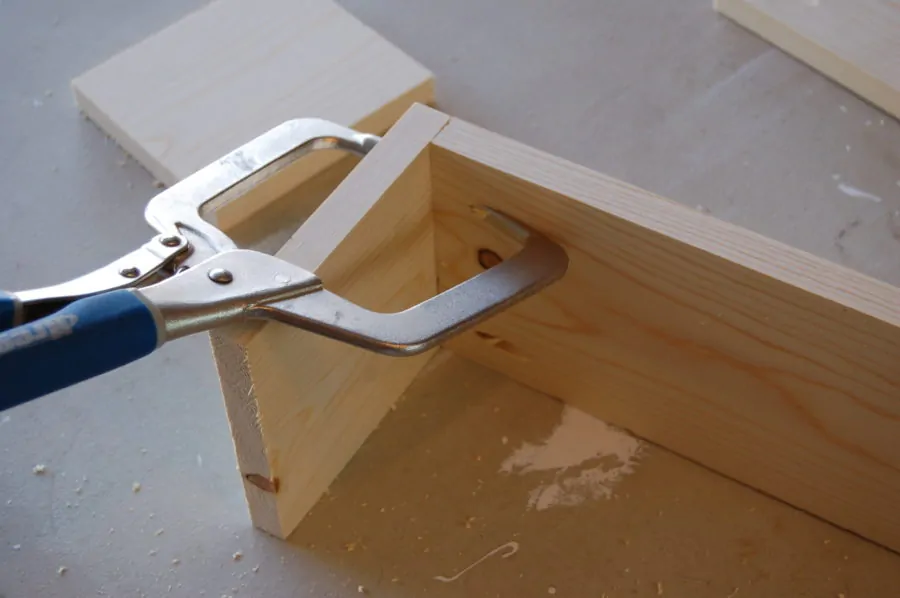
Drive a screw in the other hole while its clamped.
Continue this process for all 8 screws.
Then sand around the edges and make sure its nice and smooth all around. Set it on your back board. The bottom of the shelf is 5″ from the bottom of the board.
The pocket holes should go towards the bottom (the short side).
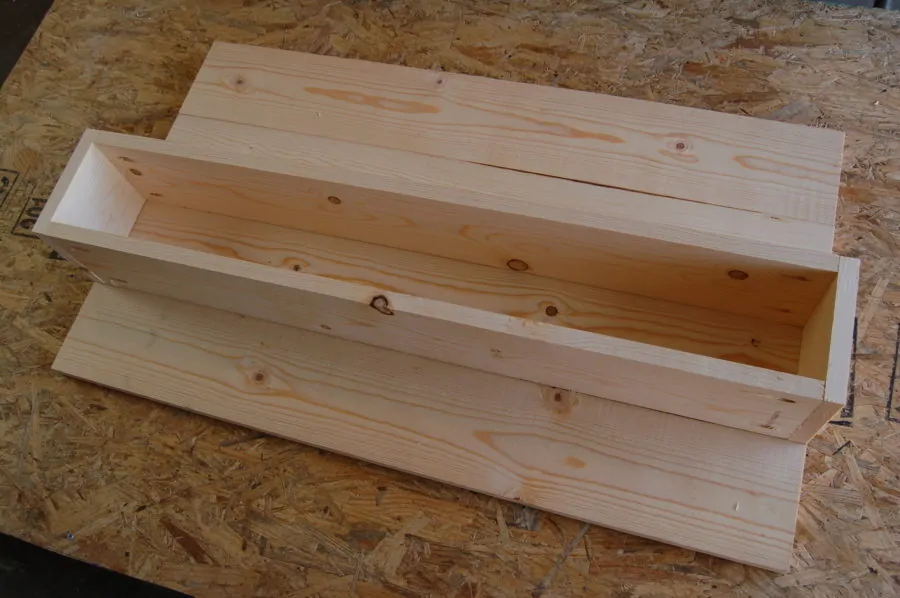
Mark where the shelf sits on the back of the board, then drive 1 1/2″ screws into the shelf from the back. I found that 4 along the top part and 4 along the bottom worked well.
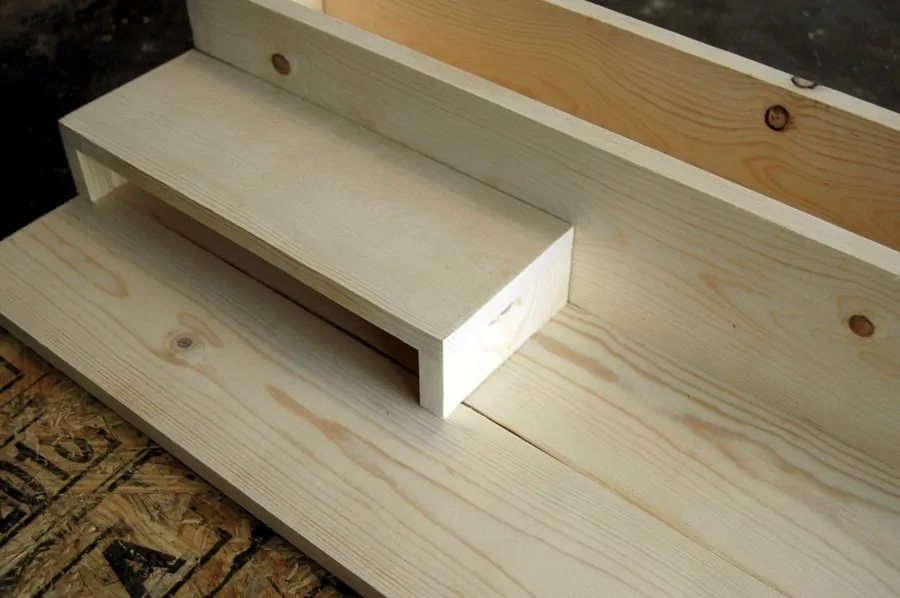
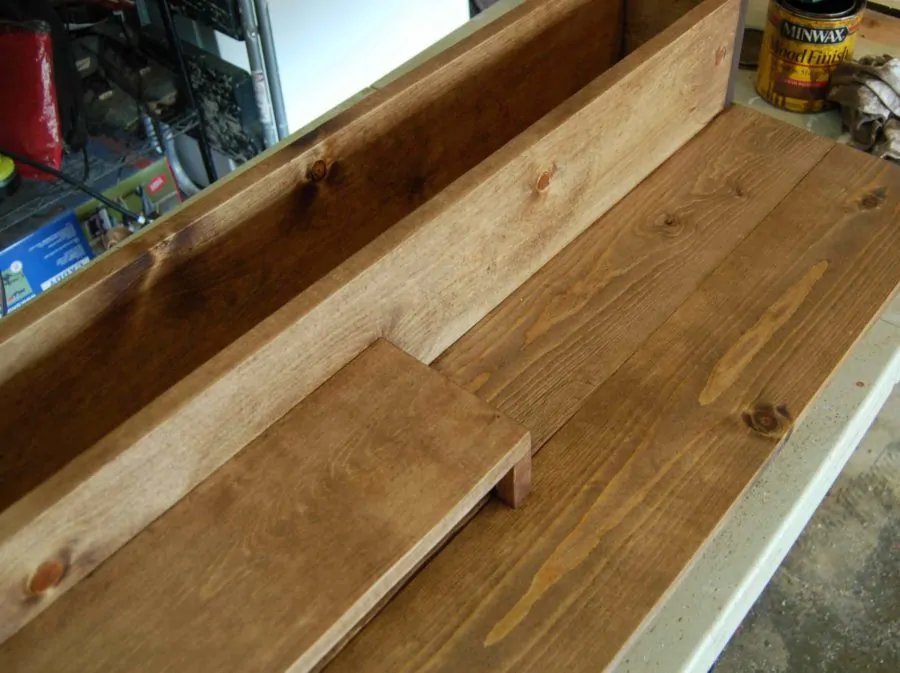
3. Assemble and Attach Letter Holder
You should have 3 pieces of cut board left. These are for the letter holder.
Assemble the letter holder, sand around the edges, and set it on the board as you did with the shelf.
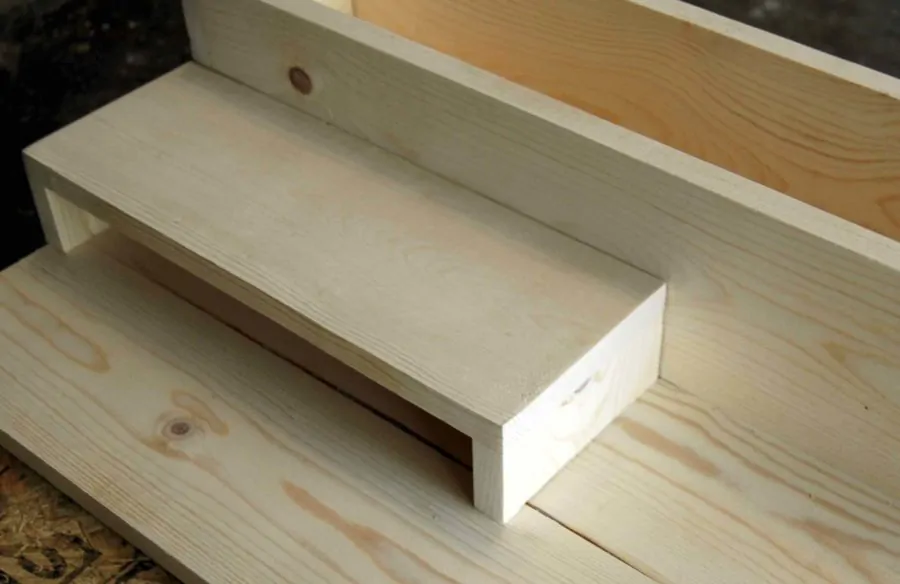
I put mine along the right edge of the board, but of course you can do it anywhere that you would like.
Drive a few screws into the sides of the letter holder from the back.
4. Sand and Prepare for Stain
This step involves sanding all of the surfaces. I generally use a 150 grit for this step because I usually just want a little bit of smoothing.
I will go back over it with 220 grit with the random orbital sander, and the by hand in a few important places like where you may be touching it in actual usage.
Make sure it is clean from dust and debris at the end of this step.
5. Pre-Stain
For pine it is important to use pre-stain to make sure that your stain is absorbed evenly. It can turn out splotchy if you skip this step.
You can use either oil or water based pre stain. I chose oil because my stain is also oil based. It is best to generally not mix oil and water based products, although it is possible to do.

Brush the wood conditioner on and follow the directions on the can. I was able to stain soon after applying this.
6. Stain
Staining is not absolutely necessary. I like the look of a little darker wood for where this project is going. For that reason I chose a darker style stain.
Brush it on:
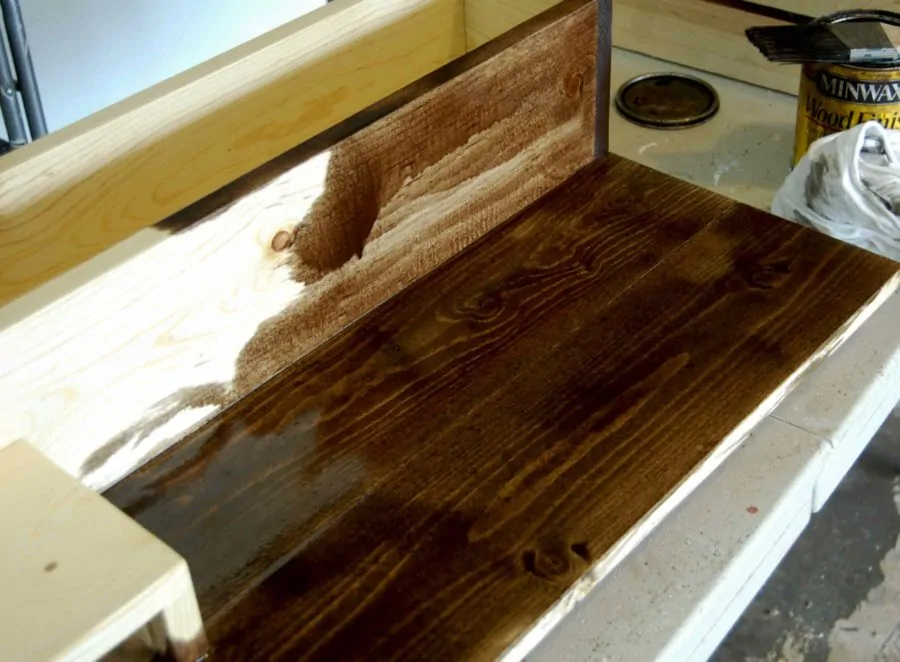
Wipe it off:
7. Apply Finish
In this case I figured it would be easier to go with an aerosol application finish. I simply bought some polyurethane and sprayed a few coats on it.
I was not too concerned about getting a super good coat on this because its just going on the wall. It is not going to get very wet or dirty.
For most projects it is recommended to seal every surface including the back. I will leave this up to you.
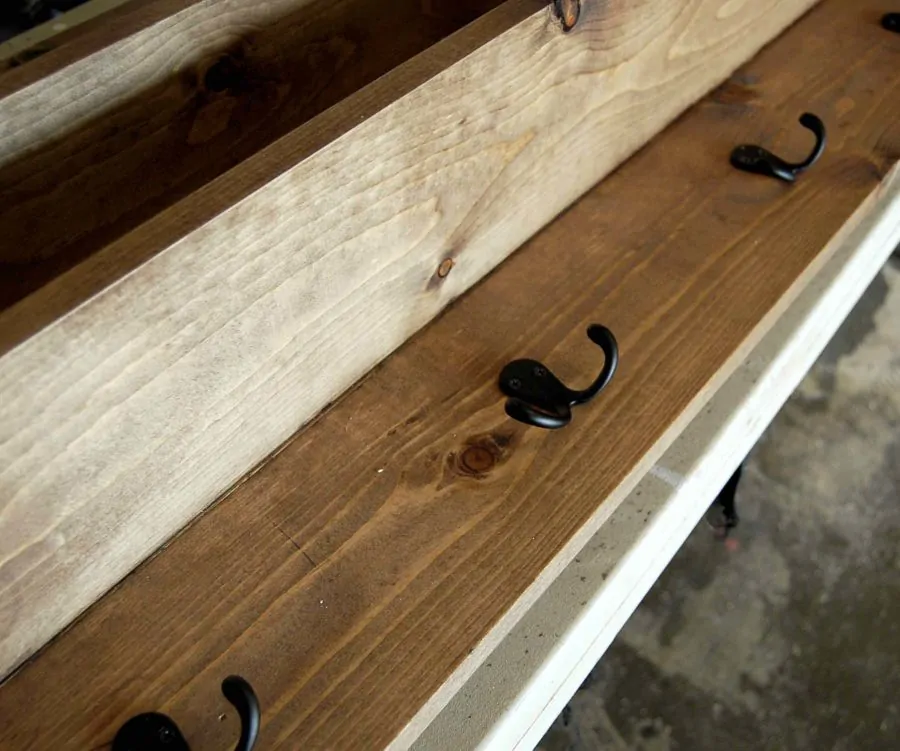
8. Install Hardware
This can include coat hooks and key hooks. I did both as you can see in the picture:
9. Install
This step can be accomplished in one of two ways. The first method is to find where two studs are in the wall where you want to hang this. Hold the shelf up and mark these stud positions on your back board.
I then took four 2 1/2″ screws and drove these straight through the backboard and into the wall. One at each corner. This installation will never come down.
The second way of doing it is to install two sawtooth hangers on the back of the board. This method is more traditional in the sense that you might see it on a product in a store.
This will work fine, but make sure the nails for the hangers are put in studs as well.
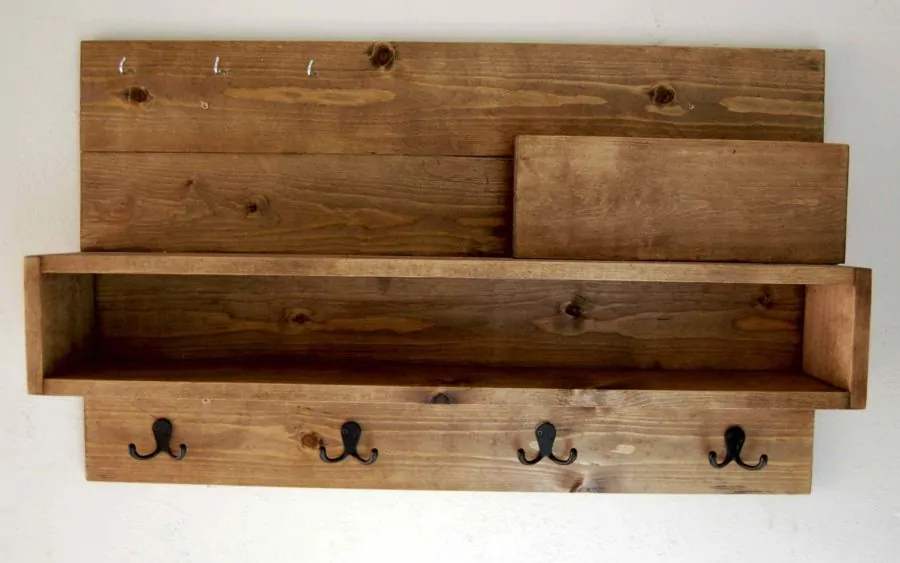
10. Finished
Let me know if you have any questions concerning this build. I hope you enjoy it!