This post covers an extensive bathroom remodel that my brother and I completed over the course of a summer. This bathroom is in a house that my sister and her husband plan on moving into.
[toc]
Nobody was living in the house at the time, so it was not critical that it was completed in a short period of time.
I am writing this post to show the process and explain some of the techniques and products that we used. It was a difficult process and required skillsets in all facets of remodeling.
The remodel included doing things such as plumbing work, electrical, drywall, and flooring. We also installed a tiled, walk-in shower. I custom built the two vanities and installed the sink and countertop.
In this post I will go through each part of the process and show you some of the pictures that I took during the process. (Some are a little blurry – blame the iPhone)
Demolition
This bathroom was pretty much stuck in the 60’s, maybe even earlier. It had never been remodeled.
Here are a few pictures of the atrocity:
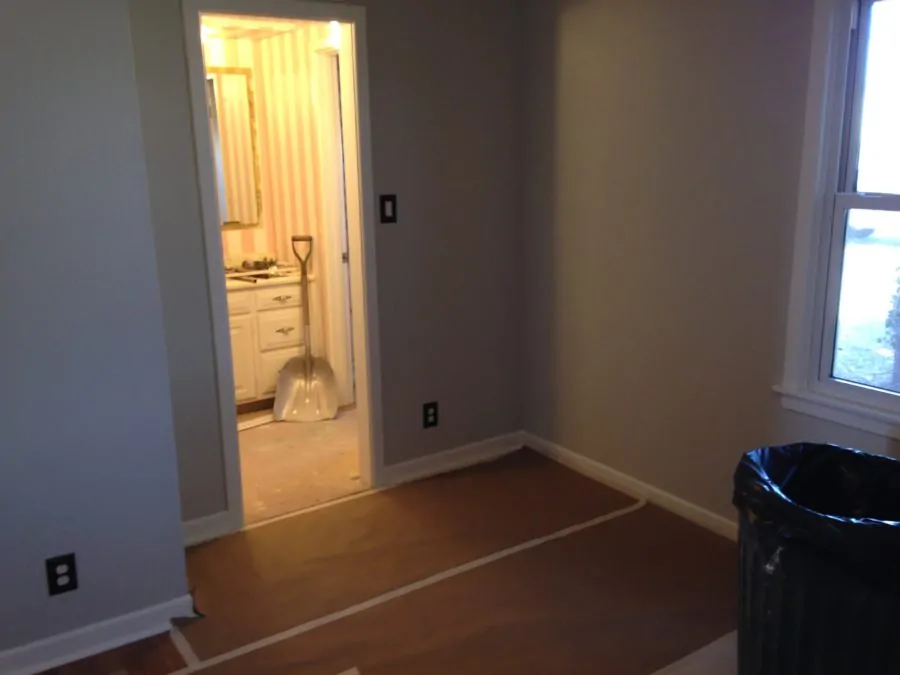
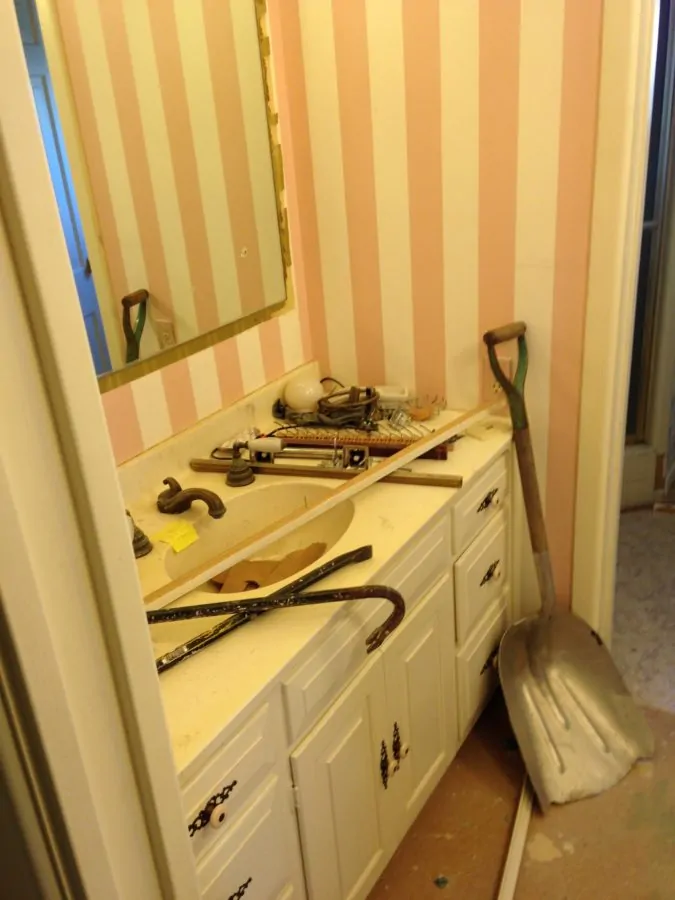
There was basically nothing salvageable, so we went ahead and started the process of destroying everything.
The vanity had to come out, the drywall had to come down, and the shower needed to be removed. Here is a list of everything that we tore out:
- Flooring (carpet)
- Vanity
- Drywall (walls and ceiling)
- Shower
- Toilet
- Doors
- Wiring
- One wall
We took out one wall of the bathroom because we intended to expand the size and add another vanity. This was to bring us to our goal of having two sinks. The wall we took out was nex to the bedroom. This is because the expansion was going into the bedroom.
Here are some demolition photos:
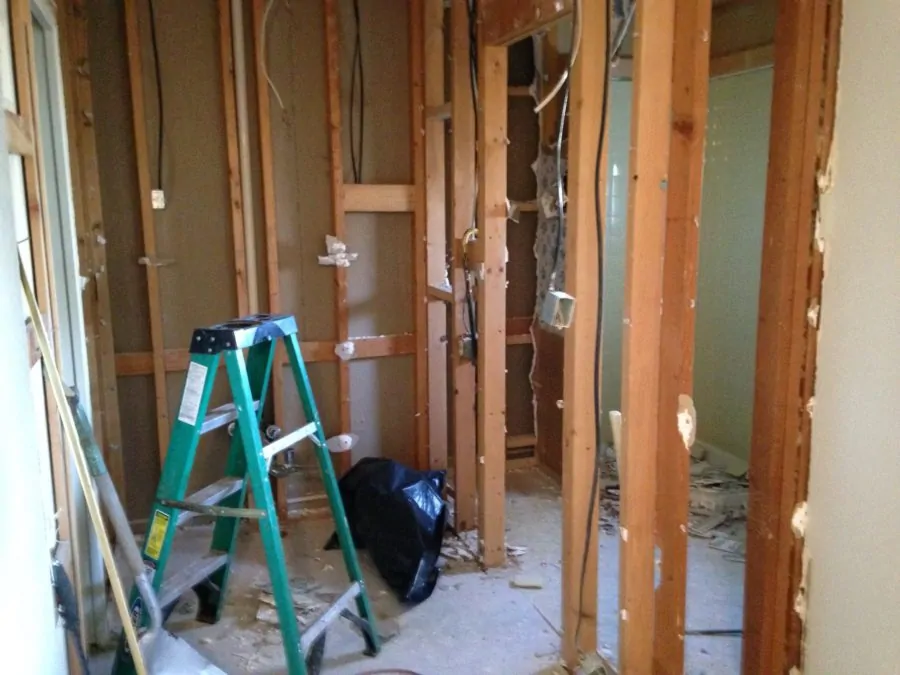
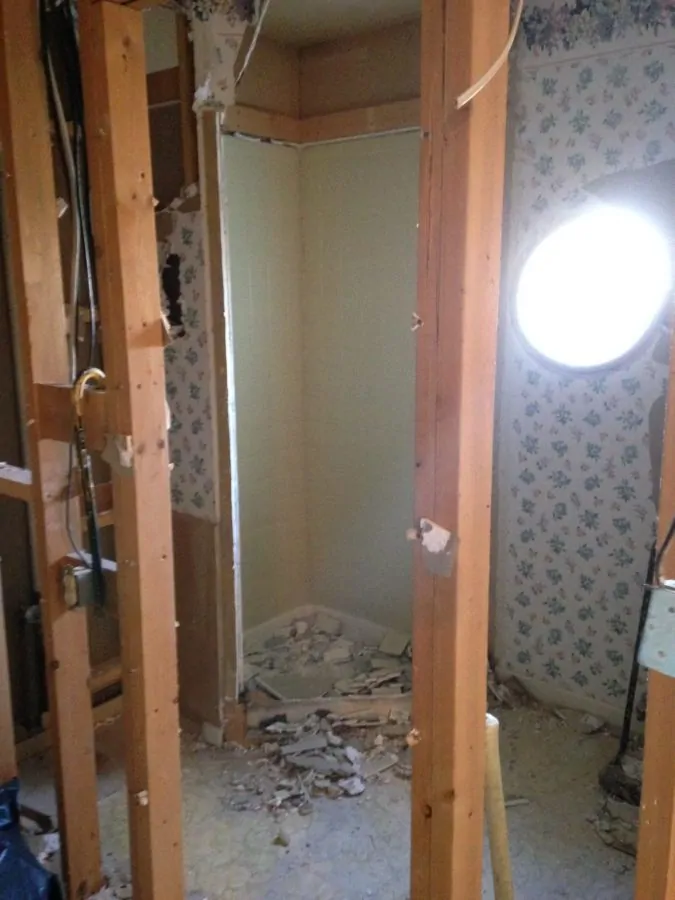
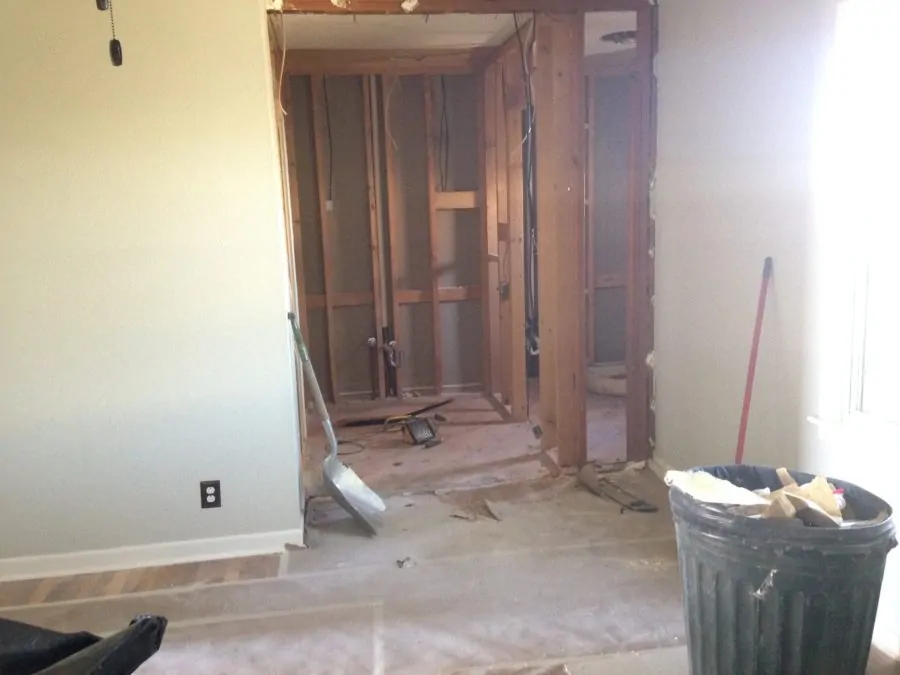
It’s real easy to start tearing down walls and hitting things with a sledge hammer. The hard part is cleaning it all up.
It doesn’t take long to get a big pile of drywall laying on the ground, and then you have to find some way to dispose of it. We backed a big trailer up to the house and hauled everything out there. It was tedious work, but eventually it was all cleaned up.
Cleaning up the Little Things
After tearing down the big walls and other items there are a ton of little things to clean up. For example, all of the drywall nails pretty much stay in the studs, so you have to go around with a hammer or crowbar and pull out every single one of these. This takes so much longer than you would think.
Every little scrap of drywall and stray screw needs to be thrown away before you can think about starting the reconstruction process.
Plumbing
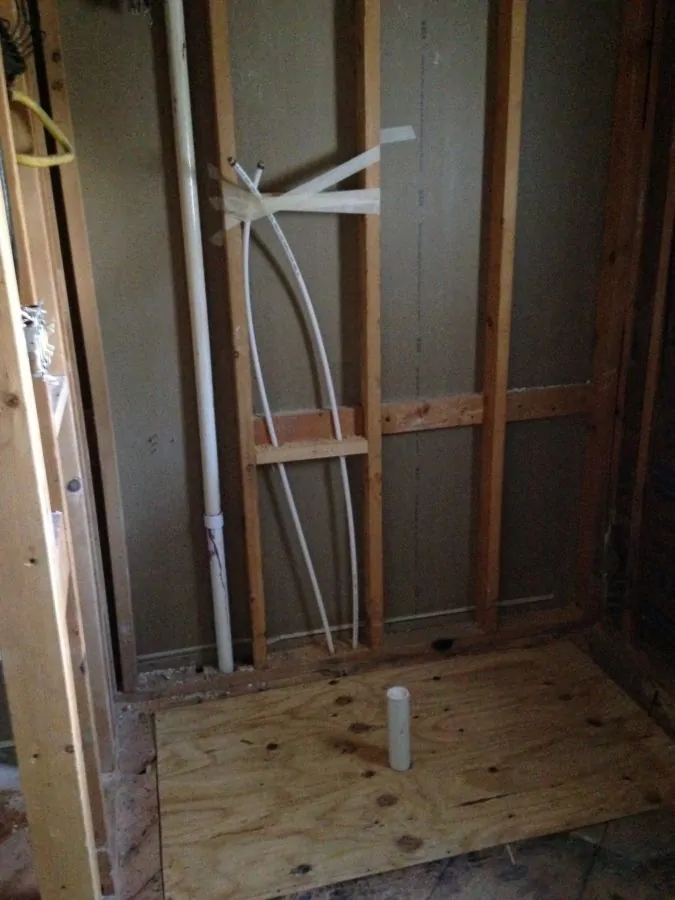
To improve the shower situation we wanted to install a walk in shower (no tub) with a tiled base. This required moving the existing drain to a more centered position in the floor (about a 2 foot move). We also planned on making the drain size for the shower 2″ instead of the 1-1/2″ that they had originally used.
The water lines had to be moved as well. The new shower faucet is located on the wall, and we put the shower head on the adjoining wall. This way you can turn the water on without being under the shower faucet.
Here are some pictures of that whole process:
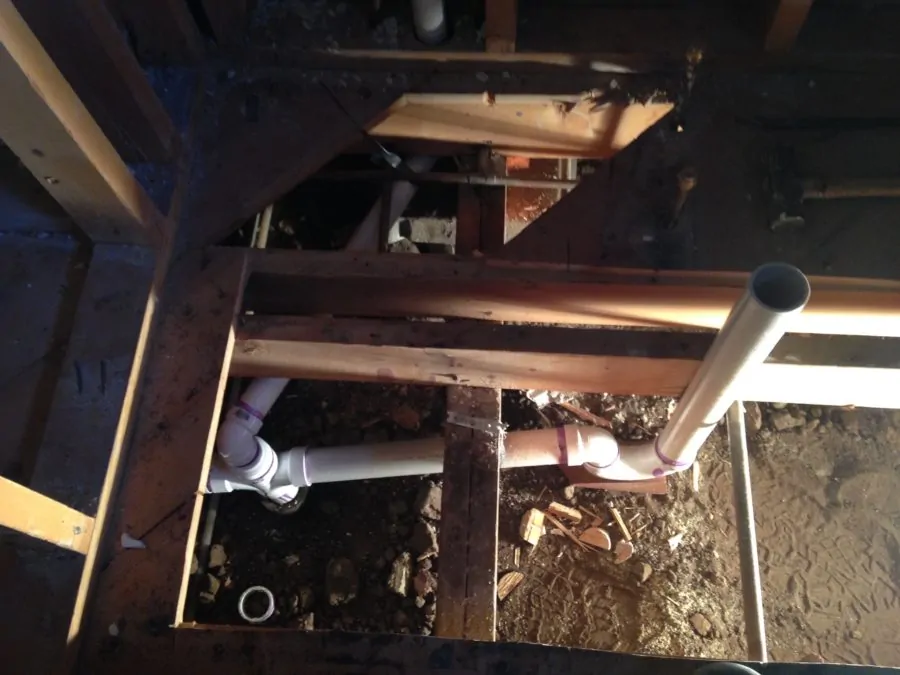
Much of the original water lines and plumbing simply had to be replaced. Everything was in the wrong place and could not be used. In the photo below you can see the water lines leading to where we put the shower faucet. We covered up the shower base to prepare for installation.
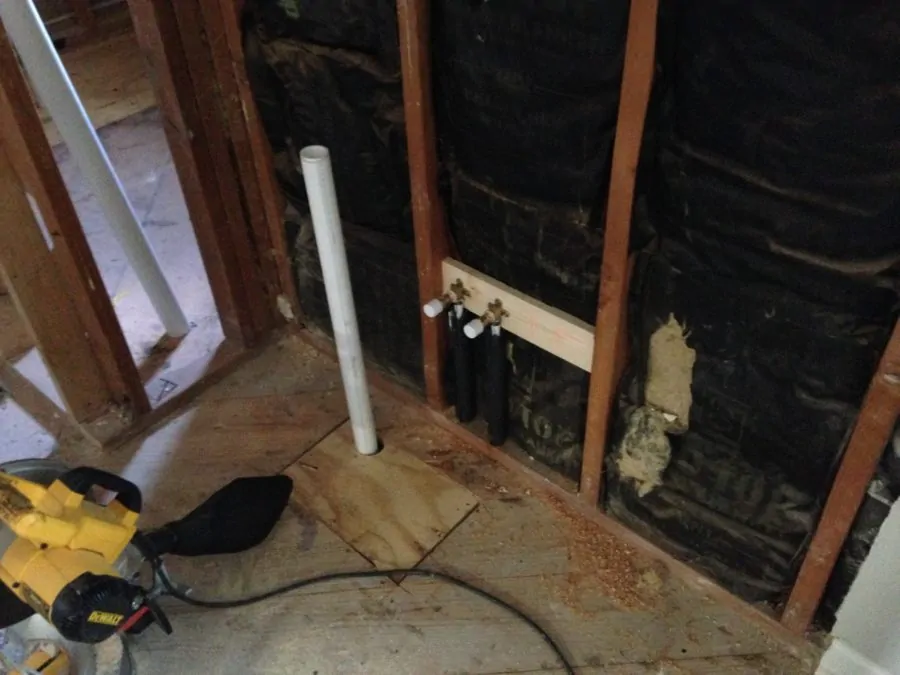
We also had to install plumbing for a new sink that we added. This bathroom originally only had one sink. The plan here was to expand the outside wall of the bathroom, expanding it into the bedroom. That extra space would allow for an extra sink.
Since the plumbing for this sink did not exist, we had to install about 5 feet of drain lines and water lines. You can see the result of this addition in the photo below:
Drywall and Lighting
After we got all of the plumbing and water lines situated how we wanted it, the next task was to get our lighting figured out. I wanted to do this next for two reasons: first of all, I wanted the lighting installed so that we could use the lights to help us work. Second, I like to get the ceiling done before the rest of the stuff so that you don’t have to worry about messing something up below.
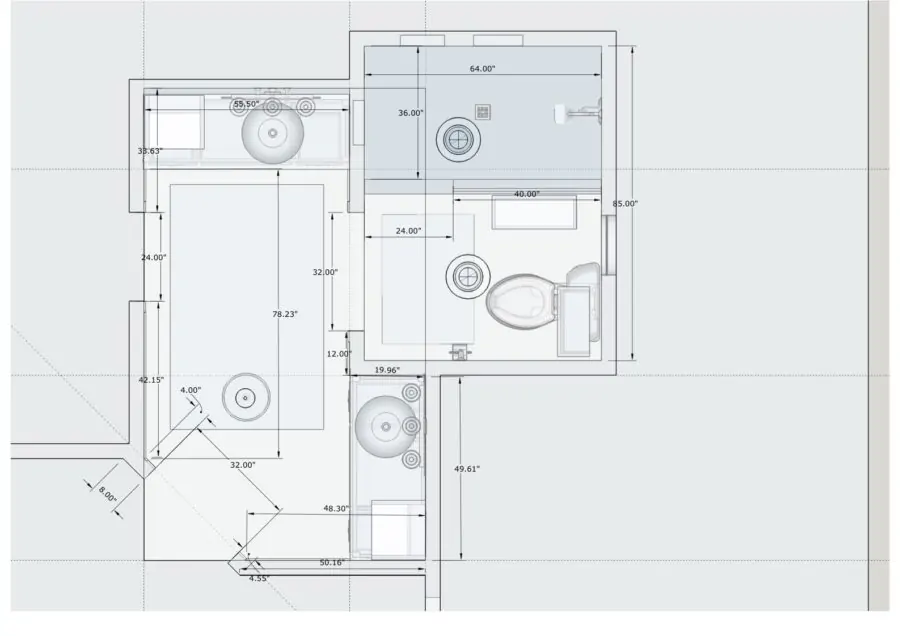
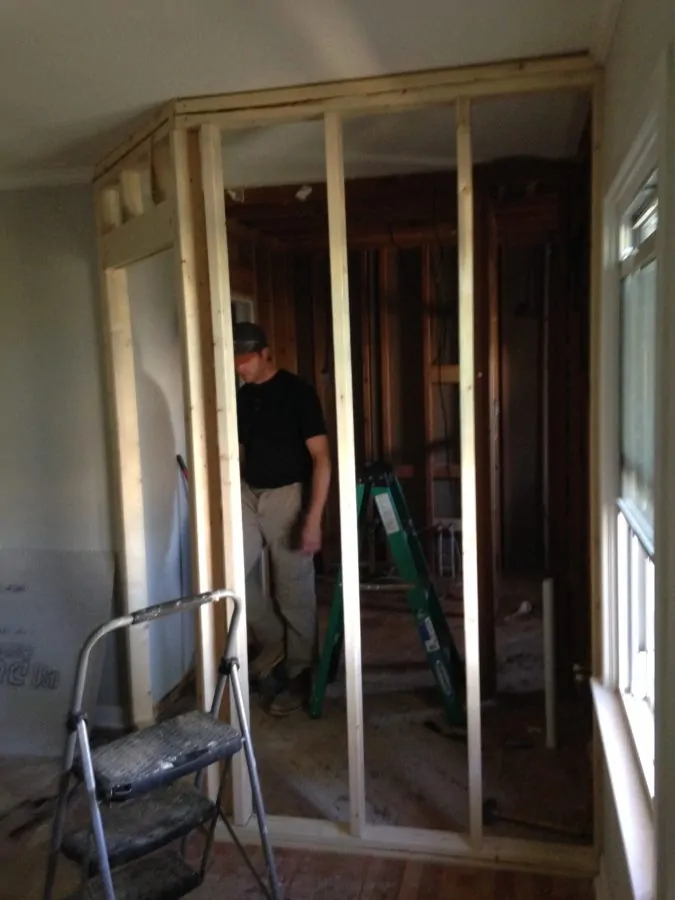
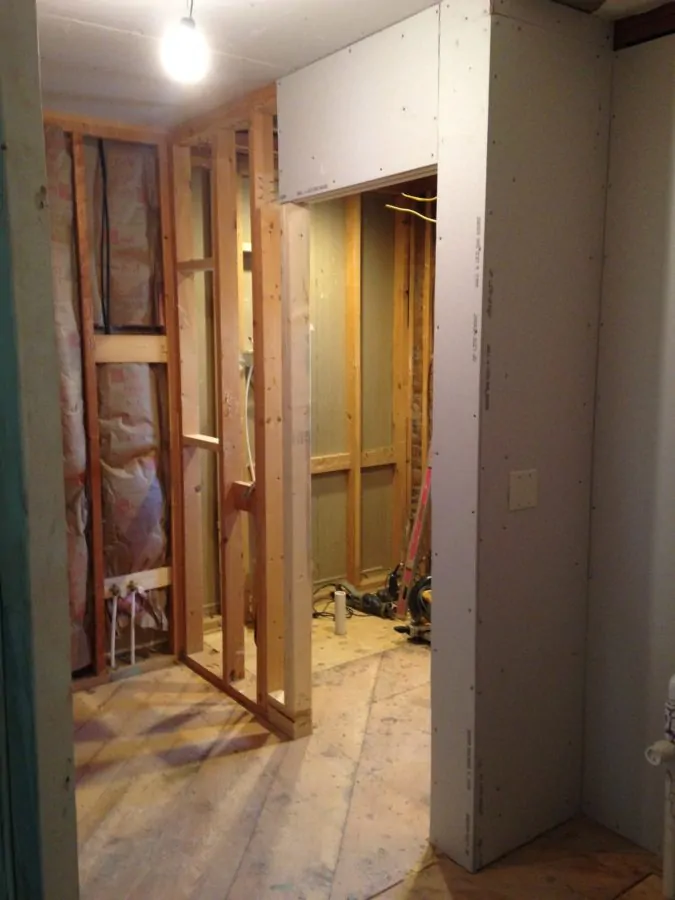
We also had to install a new wall with an angled doorway. The diagram for the whole bathroom can be seen below:
In the photo below you can see the new wall installed with the angled doorway:
The drywall required quite an effort to install. This is typical of any construction project. It simply takes several days to nail it up, mud and tape, sand, etc. It’s a neat process because it starts to feel like you are actually making progress. The problem with it is you realize just how far there is to go.
Here are a few photos of the drywall process:
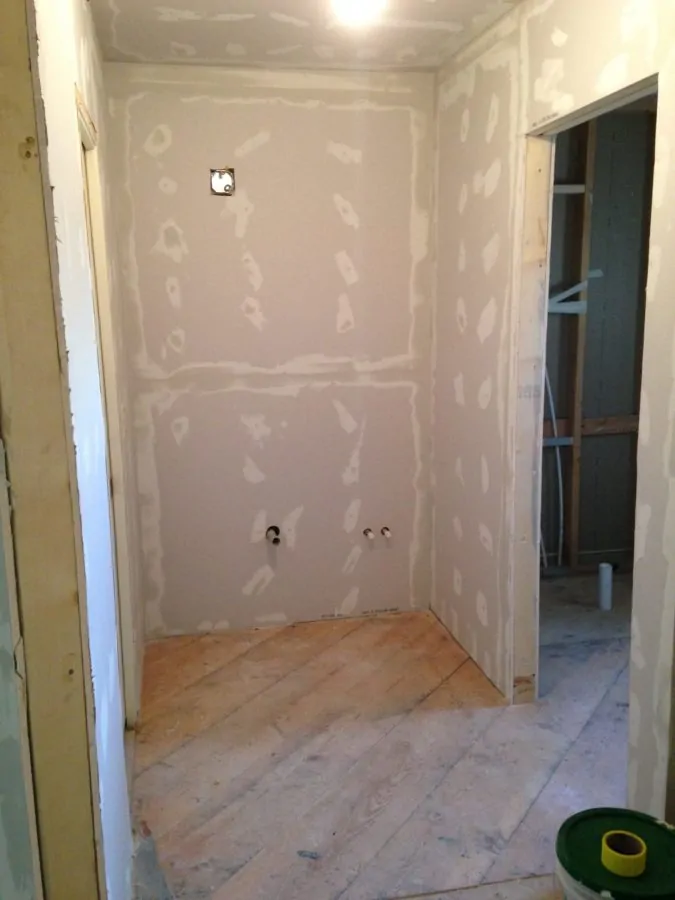
It is a challenging process to constantly be cleaning up the waste while you add back the finished product.
Ceiling
In the shower we added two recessed light fixtures plus an exhaust fan/heater. I wanted to have good lighting in here and also a quiet, efficient fan + heater combo.
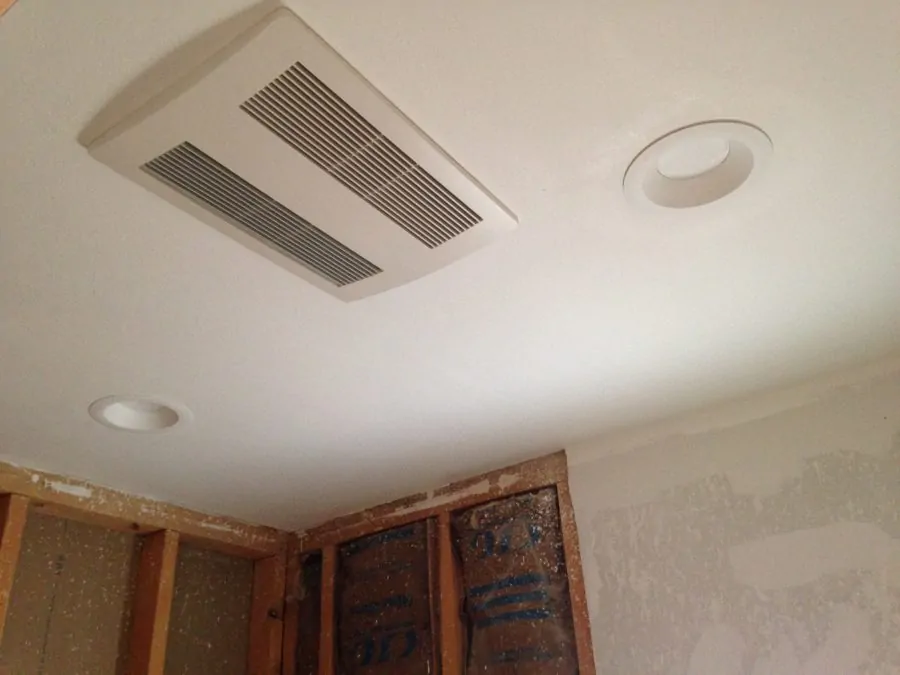
I was quite pleased with how this turned out. If you can ever get the ceiling fixed the way you want it, you won’t have to look at it ever again. We actually went ahead and painted the ceiling now so that we didn’t have to worry about paint dripping on anything.
The rest of the lighting in the bathroom consisted of a flush mount fixture and two vanity lights. You will see these later on in a finished photo.
Shower Construction
Building the shower was a complicated process. There were several steps involved, and half the effort was spent trying to figure out which step needed to be done next.
Because the shower was not a simple install of a fiberglass tub or base, we had to figure out how to make the base. This issue was solved via a company at showerbase.com. They make all kinds of ready made shower bases or custom solutions. Our size shower was fairly pricey (around $600), but for such an important task I wasn’t willing to compromise on quality.
Plus, the alternative is not desirable. You would have to mortar in a base and go through a whole litany of steps to make it waterproof. This solution is straightforward and easy.
The steps are as follows:
- Glue down the base
- Install drain
- Install backerboard around the walls
- Tape Seams
- Paint special water sealant over everything twice
The hardest part was installing the backerboard because it is so hard to cut and work with. We cut it with a razorblade similar to drywall, but I have also seen it cut with a circular saw. Doing it that way can be quite dusty, however.
Then we installed tile on the floor and walls. This part was time consuming, but rewarding.
Here are some photos of the shower waterproofing and tiling processes:
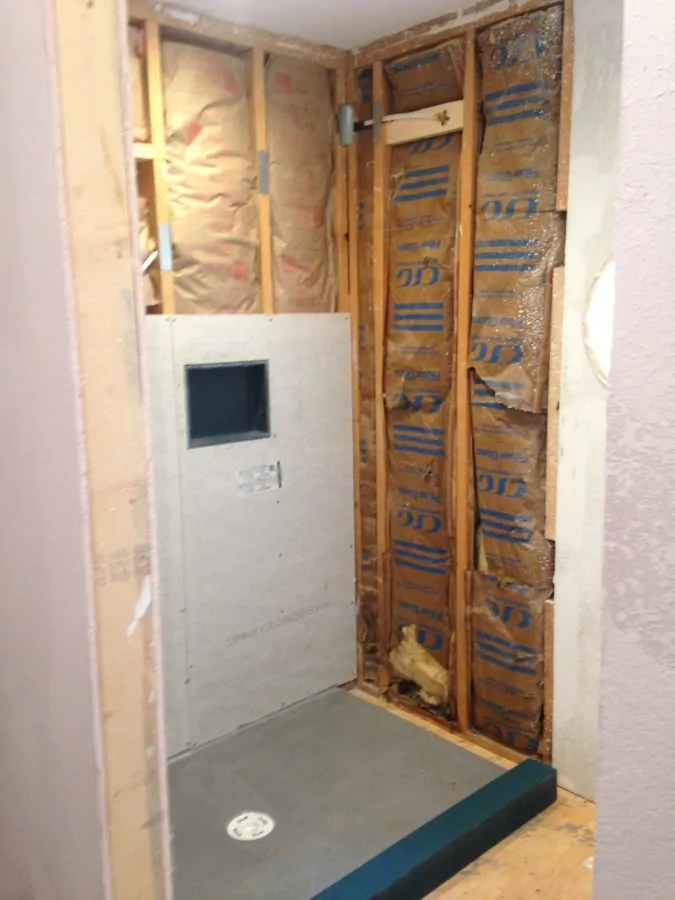
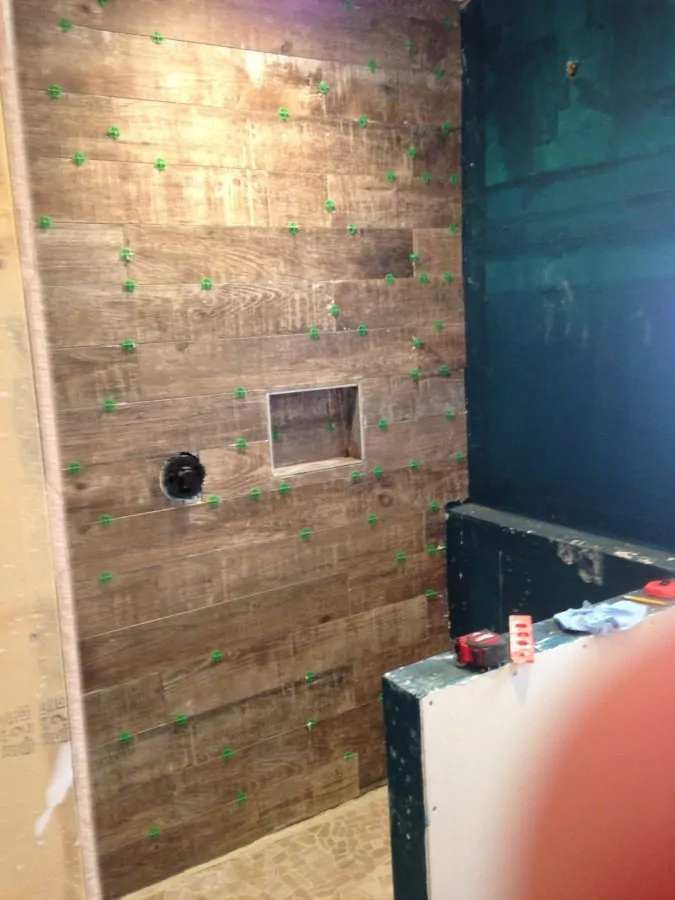
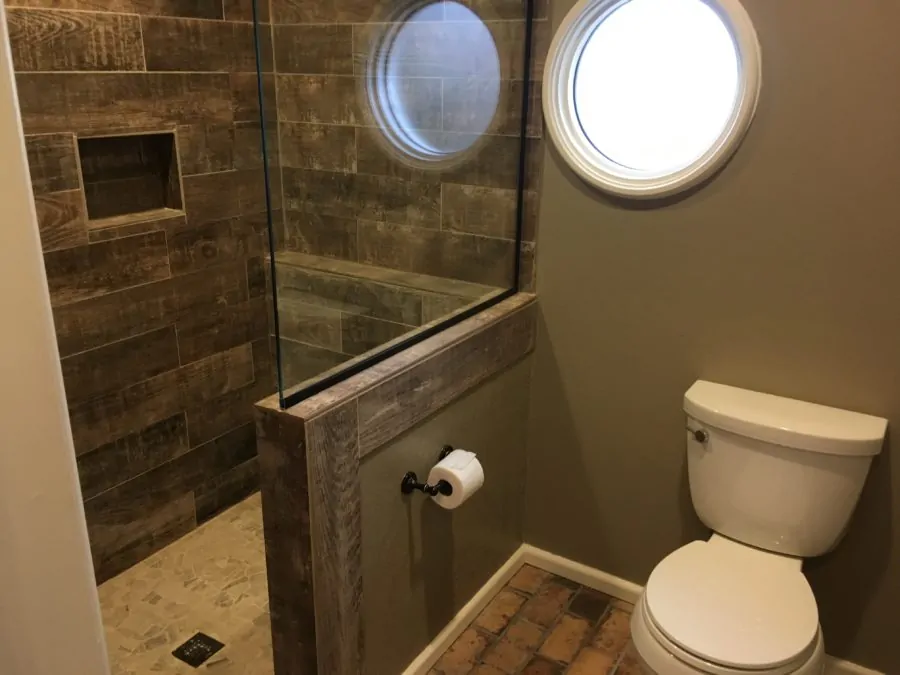
The finished product is a nice walk in shower that feels open and clean. I was concerned that some water may splash out of the opening, but this isn’t really a problem. The curb at the bottom prevents any water from getting to the floor outside the shower.
The shower nooks that we installed are sold by the same company that makes the base.
Flooring and Finishing
After we made progress on the shower, it was time to install the floor tiles and work on putting the finishing touches together. This included several different things:
- Toilet
- Two vanities with sinks
- Cabinetry
- Trim
- Paint
- Some electrical work
- Doors (1 regular door, 1 barn door)
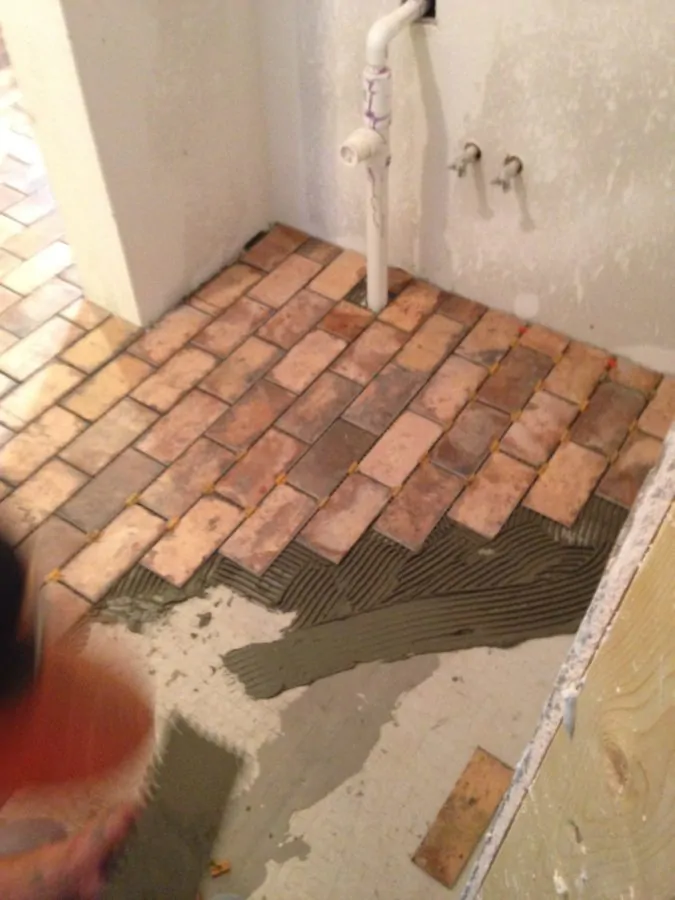
Here is a photo of the floor installation:
Doors
We needed two doors for this bathroom. One regular swinging door for the entryway from the bedroom, and one sliding, barn-door style door for the shower and toilet area.
The reason we went for the sliding door was to save room. A swinging door couldn’t really fit with the space we had.
We actually got a couple old wood doors from an antique store. They needed a little work, but I was very pleased with the condition they were in.
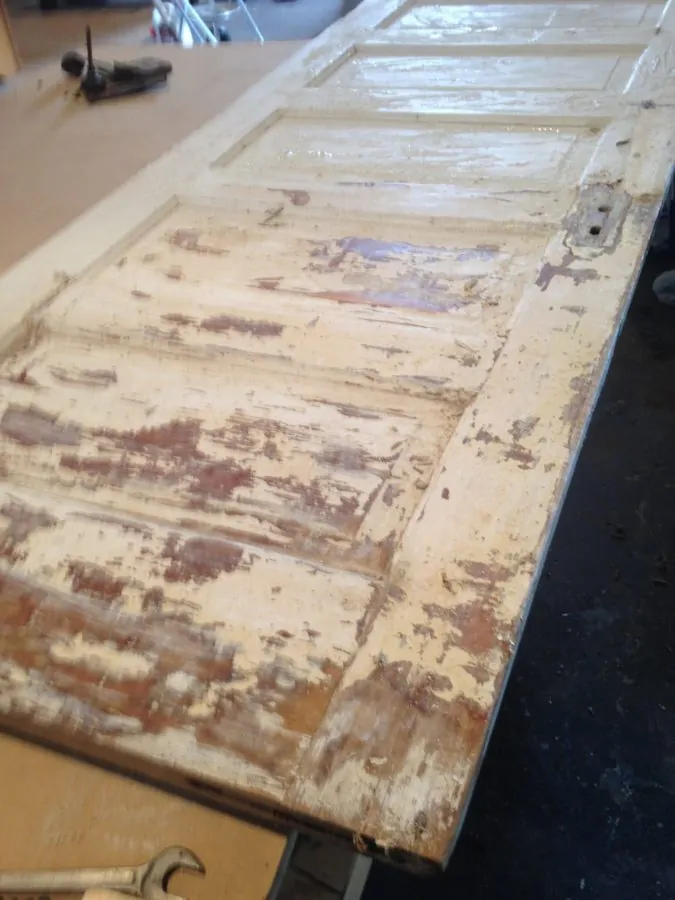
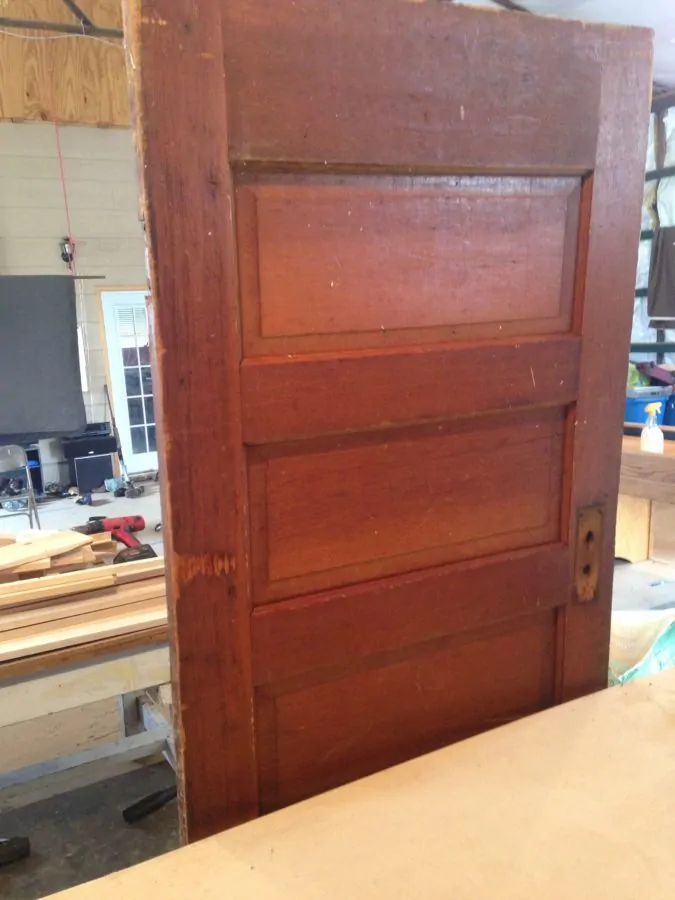
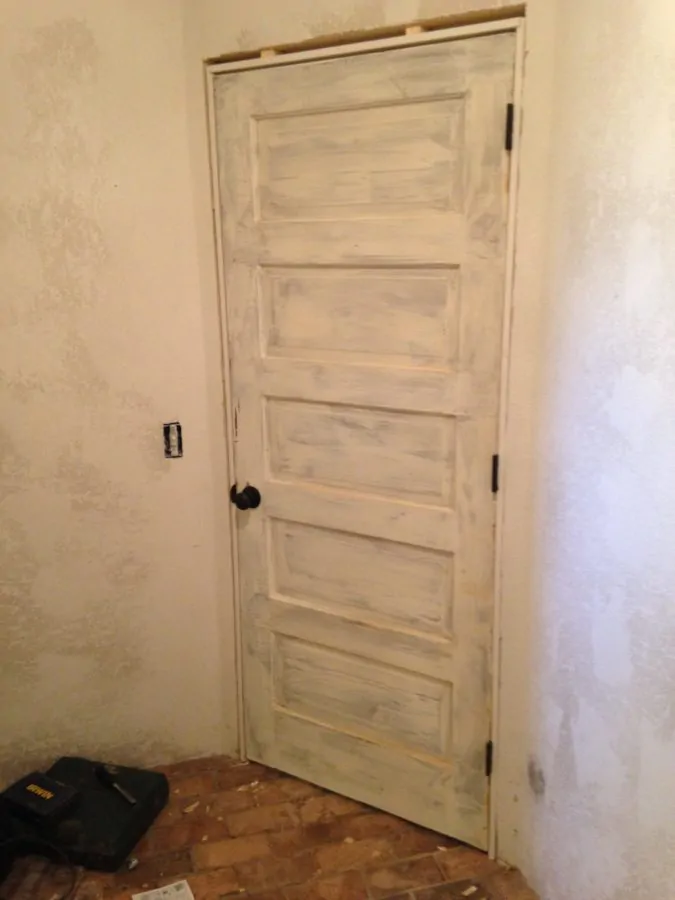
The doors needed some work before we could install them. I had to drill out the holes for the door knobs, and also chisel out recessed areas for the hinges. We used wood filler for any holes or cracks, then primed them several times.
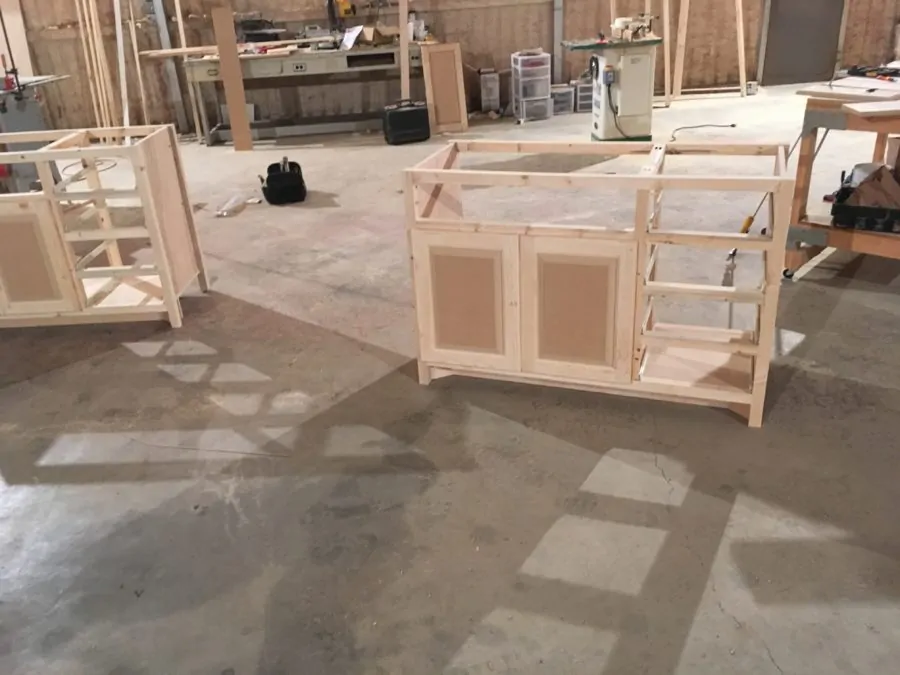
Vanities
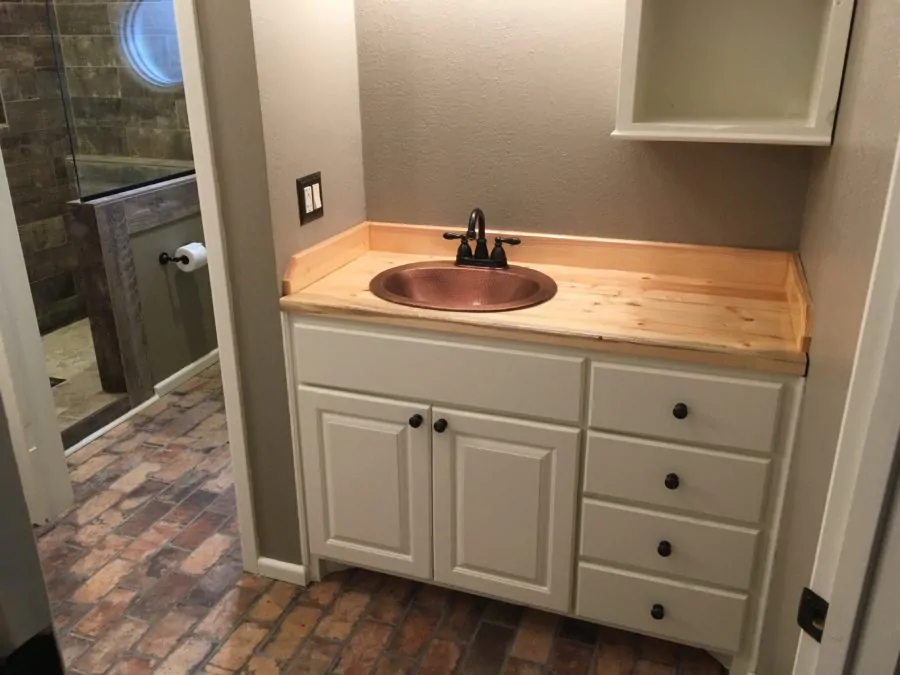
I built both of these vanities from scratch, including the table top. They both needed to be custom fit. From the picture it looks like they are the same width, but one is actually a little bit wider than the other.
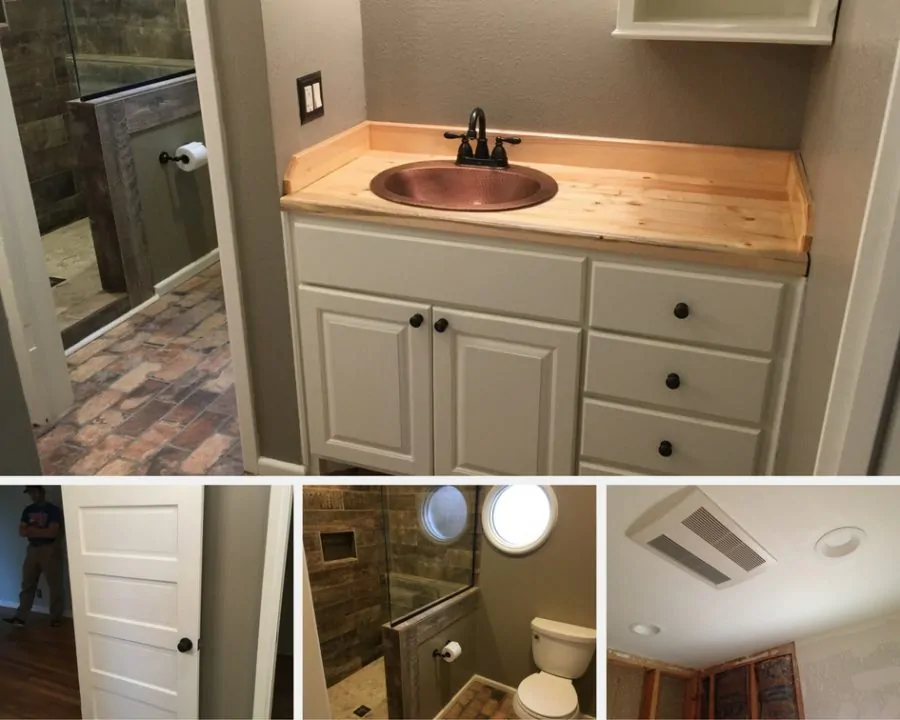
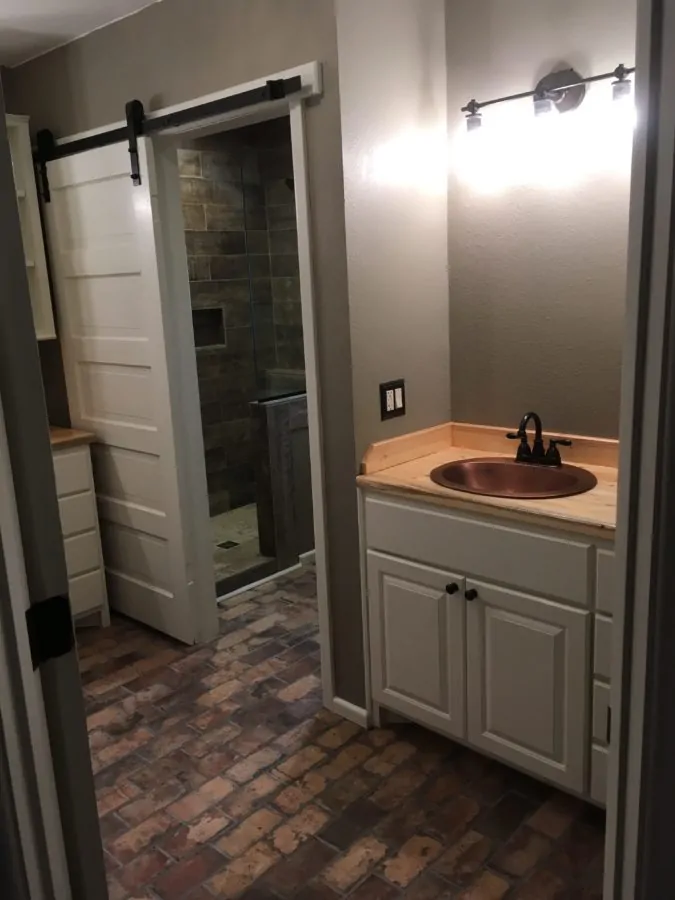
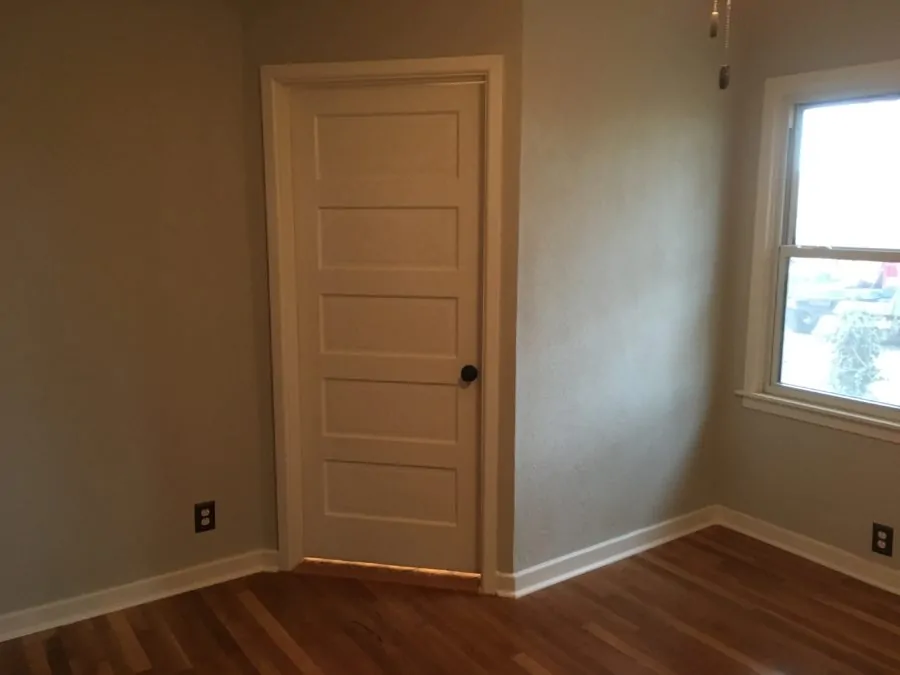
Final Pictures
Here are some final pictures from the remodel. Note how the new wall is incorporated into the bedroom. We wanted it to look like it was always supposed to be this way.
The countertops of the vanities were made with 2×4’s glued up and planed flat. I then cut a hole for the sink with a jigsaw. Bar top epoxy was used on it to give it a durable waterproof finish.
Conclusion
This project needed a ton of custom, special work. Nothing was a standard size. I couldn’t just go to Home Depot and buy a prefabbed shower because the space was a foot too long. And the vanities needed to be very specific sizes.
I learned a lot from the experience though, and hopefully it can guide me in future remodels.
I hope you enjoyed following along through the pictures of our remodel. Let me know if you have any questions about the process or the tools and materials we used. I’d be happy to answer them.