My kitchen project has been a long and arduous one. This is not surprising of course but it has definitely been a test of my skill and my family’s patience.
One step of the project has been to build the doors for my cabinets. This has required face frames and router bits and a bunch of other stuff.
Then I got to the part where I needed to put hinges on each of the doors. I have done this by hand in the past, but I wanted to see if there was a better way.
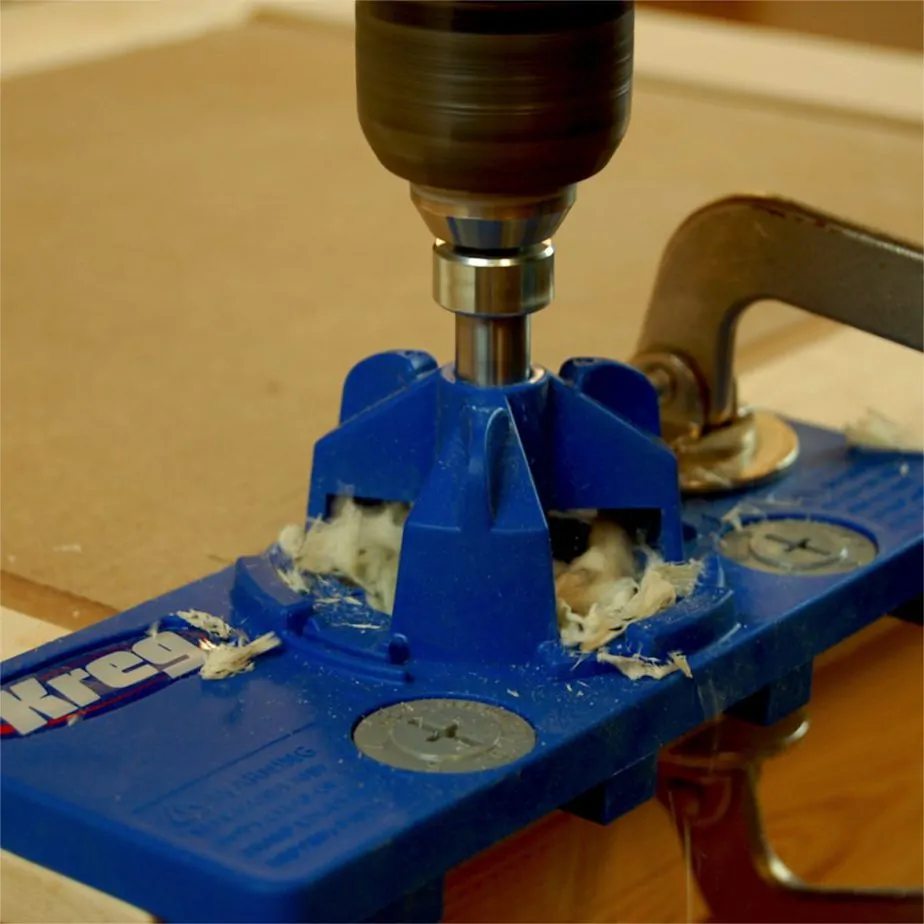
This is where the Kreg Concealed Hinge Jig comes into play.
Overview
For the doors I planned on using some half inch overlay hinges. These required me drilling out a hole for the cup where the hinge sets inside the door frame.
This hole is 35mm in diameter. To make quick work of this I decided I would buy the Kreg Concealed Hinge Jig.
This is a great tool, real simple and easy to use. It also is cheap.
First Impression
It is a simple toolkit with just 4 parts total and an instruction booklet. The allen wrench is used to tighten the lock ring on the shaft of the drill bit.
Parts:
- 35mm Forstner Drill Bit
- Stop Collar
- Allen Wrench
- Plastic Jig
- Instruction Booklet
The drill bit has a lip on it where the collar sits, so there is no guessing where to tighten this down.
The collar comes separate because the drill bit has to go through the plastic piece of the jig.
Once the bit is through the jig, then the collar slides down and tightens against the larger part of the drill bit.
How it Works
Once you get the hang of the way it works then you can make quick work of your material.
You can see in the picture below that part of the jig twists apart. This part is sandwiched between the large drill bit and the lock collar.
It has to stay like this while you use it.

Use your hinge instructions to determine the distance that the hole should be from the edge of the door. The gray adjustment screw you see in the photo below should set to that distance. In my case the hole needed to be 1/8″ away from the edge.
Using the conversion chart that is embossed on the upper right corner of the jig, I was able to tell that this was 3mm. In the picture it shows 6, but when I went to work I had it turned to 3.
This adjustment allows for some different types of hinges. This expands the capability of the jig.

You may want two clamps to hold the jig in place. Preferably these flat kreg clamps. I only have one and it worked good enough. Be careful that the other side doesn’t slide away from the edge.
For these doors I wasn’t concerned where the hole was drilled along the door frame. I lined up the left edge with the top of the door as you can see in the photo below.
Along the top edge of the jig there is some alignment measurements. I didn’t need them but I can see how they would be useful.
Drill the Holes
Put the drill bit in your drill, then clip the plastic piece into the rest of the hinge. Then drill the hole. Go till it hits the collar. Pretty simple.
The next step is to drill the holes for each screw. This is done with a 1/16″ drill bit. You will have to determine how far down to drill the hole.
I put a piece of tape on the drill bit once I figured out how far down to go. This way I knew where it was each time I drilled a hole.
Here is the finished product. I was pleased with this after doing it manually. The greatest benefit was getting the correct 1/8″ distance away from the edge of the door.
The holes aligned correctly.
Here are some of the doors installed, child decorated fridge and all.
Conclusion
Deciding if you should buy this jig comes down to one simple question. Do you need to put some concealed hinges on a door any time soon?
If so then don’t hesitate to go out and get one of these. It will work for everything except a commercial operation.
You can buy it here.
Overall it is a great tool to have in your arsenal as a woodworker.


